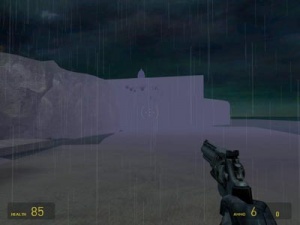
When you have fog in your map, you will most likely run into the problem that, while the geometry and models get affected by the fog, the Skybox will not.
You can either use settings which have been used in other HL2 levels before or make your own skybox material. The latter version gives you not only a lot more control over the fog but does also improve performance.
 Note: The 3D Skybox has it's own fog settings in the sky_camera entity. Match those with the settings of your env_fog_controller for best results.
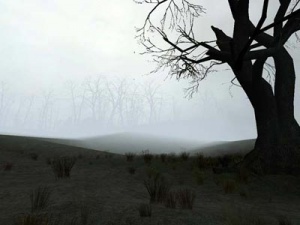
First, you have to use sky_day02_10 as your skybox texture (if you look at it, it actually is foggy on the texture which is why it works). For a list of skies, see Sky List.
Then, your env_fog_controller should be something like this:
Primary fog color: 176 192 202
Secondary fog color: 206 216 222
These are the exact settings used in the bridge crossing part of Highway 17 in HL2.
We're simply creating a skybox that uses the primary fog color. While a normal skybox has 6 texture files with each 1024x1024 pixel, we only need one with a much smaller size, thus reducing the cached texture size.
First off, create a .vtf with the color of your fog. Ideally, save it into the skybox folder. Remember it's name, for this tutorial I'll asume it is called sky_fog_tex.
Now create the six .vmt's needed for a skybox. If you want to call your skybox sky_fog, these are:
sky_fogbk.vmt
sky_fogdn.vmt
sky_fogft.vmt
sky_foglf.vmt
sky_fogrt.vmt
sky_fogup.vmt
These have all the same content:
"UnlitGeneric" { "$baseTexture" "skybox/sky_fog" }We are not using "$nofog" 1 like skyboxes usually do.
If you are using this skybox and only the primary fog color in the env_fog_controller is enabled, the fogged geometry and models have the same color as the skybox.
However, if you are using the secondary fog color as well, you have to make sure that the distance between player and skybox is always bigger than the fogend. Remember that we didn't use "$nofog" 1, means the fog is drawn onto the skybox. However, this is only done in a sufficient way when the skybox is completely overdrawn - just like the geometry. You can use a 3D Skybox for this purpose.